
How the GTX 5 Works

The Physics Behind the GTX System
The GTX 5 head puts a turn on your throw by pushing offset from the center of the stone. You can adjust the offset using the thumb screw at the back of the head.
3 Factors that Influence Stone Rotation
-

1. Angle Between the Stick and Stone Handle
A larger angle between the stick and the stone will increase the number of rotations. A good starting point is around 75°.
-

2. Angle Between Stick and Ice
Closer the stick is to the ice, the more rotation you will get.
-

3. Thumb screw position
Maximum rotation is achieved by unscrewing the screw completely.


GTX 5: Introducing Our Experimental Inverted Option
How to Configure Your GTX 5 Head for the Inverted Option
-
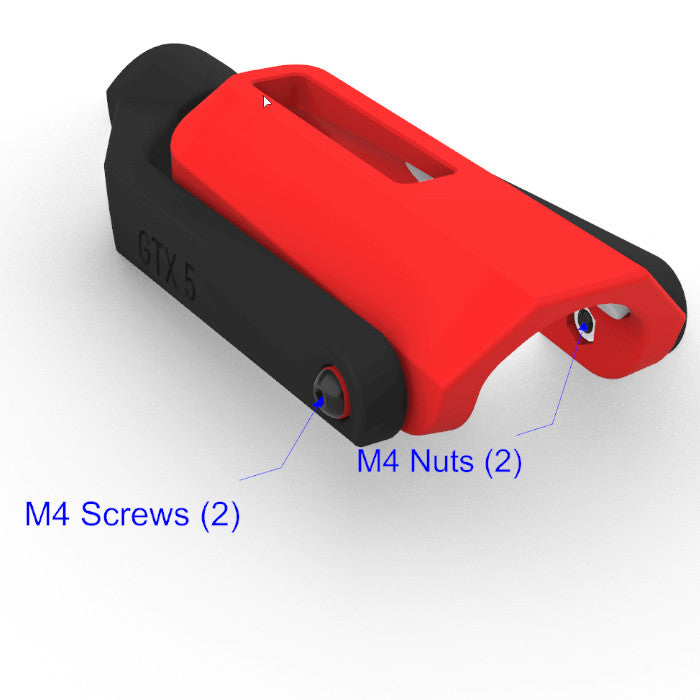
1. Remove the retaining screws (Requires 2.5 mm hex key)
Use a 2.5 mm hex screwdriver or key to carefully remove the two black metal screws. Be sure to set aside and retain the two red bushings—you will need them to secure everything at the end.
-
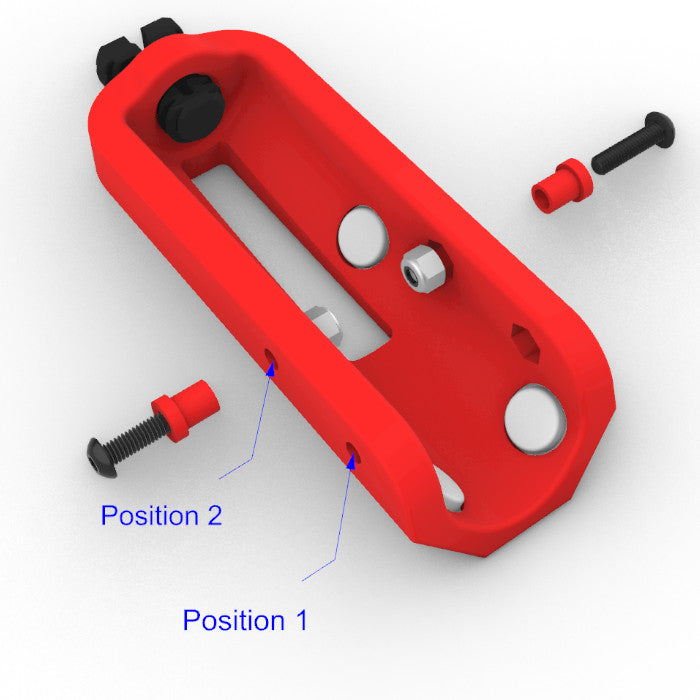
2. Reposition the nuts (Switch from Position 1 to Position 2)
Gently remove the two nuts from their slots in the Position 1 holes and transfer them directly into the Position 2 holes.
-
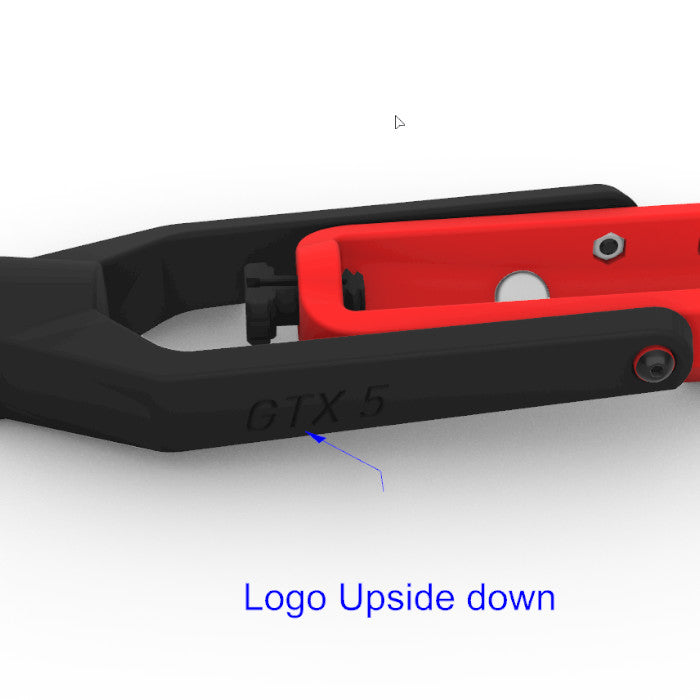
3. Invert the fork and reassemble (Secure the new configuration)
Turn the fork-shaped component upside down and align it back onto the red base component. Secure it firmly in place using the two black metal screws and the red bushings you saved from Step 1.
